In today’s world, we all use multiple devices to stay connected and productive. If you have a Windows 10 PC and an Android phone, linking them can make your life a lot easier. When you link your Android phone to your Windows PC, you can transfer files seamlessly, get phone notifications right on your desktop, and share information between devices without any hassle.
But if you’re not a tech whiz, the process of linking your phone to your PC can seem overwhelming. In this article, we’ll walk you through the steps you need to follow to link your Android device to your Windows PC in plain, easy-to-understand language.
Features to expect include:
- Manage phone apps notifications on your PC
- Access, download, and delete pictures to your PC without hassle
- Make or receive calls from your PC
- Send and receive SMS messages
The Phone Link app requires the following to work:
- A PC running the latest version of Windows 10 or Windows 11.
- An Android device running Android 7.0 (Nougat) or the latest Android version.
- Your phone and your PC both need to be connected to the same Wi-Fi network.
Read also: The Best web browsers for Android users in 2023
Link Your Android Phone To Your Windows PC in 3 Easy Steps
Before we proceed, you need to download the Microsoft “link to Windows” app on Google Play Store before this can work. Okay, let’s dive in.
STEP 1: Phone link/Link to Windows
Firstly, turn on your PC, locate the Windows start menu or press the Windows logo key on your keyboard. Toggle down to “Phone Link” and click to open. Then click on the get started button to complete the setup.
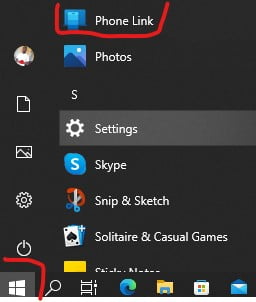
Note: You may be asked to sign in to your Microsoft account if you haven’t already signed in with Windows. Also, the Microsoft account must be the same account for both your Android phone and Windows PC.
Once you have downloaded the app on your phone, tap to open it and click on get started.
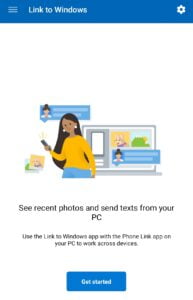
STEP 2: Pair with QR code or Manually
Click on the link button to pair both devices but if the QR code doesn’t work. Open a web browser on your Android device and then enter the link that’s displayed on your PC (www.aka.ms/yourpc). Then, go back and scan.
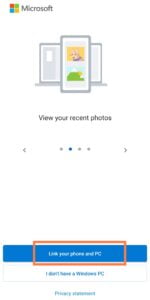
Note: If you’d like to pair your device without using a QR code, select Pair manually on your PC instead. You’ll be prompted to enter a code on your Android device.
STEP 3: Scan the QR code
A popup window with a QR code will appear on your PC screen. Then, select Continue, once the QR code on your PC is ready.
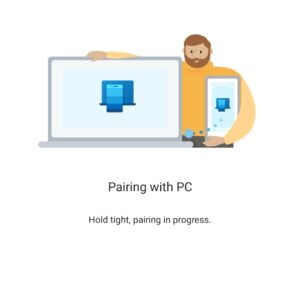
Now that you’ve linked your Android device to your Windows PC, you may be asked to allow some additional permissions on mobile. These permissions will allow you to access files on your phone from your PC.
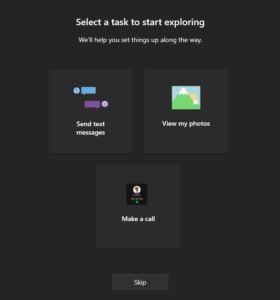
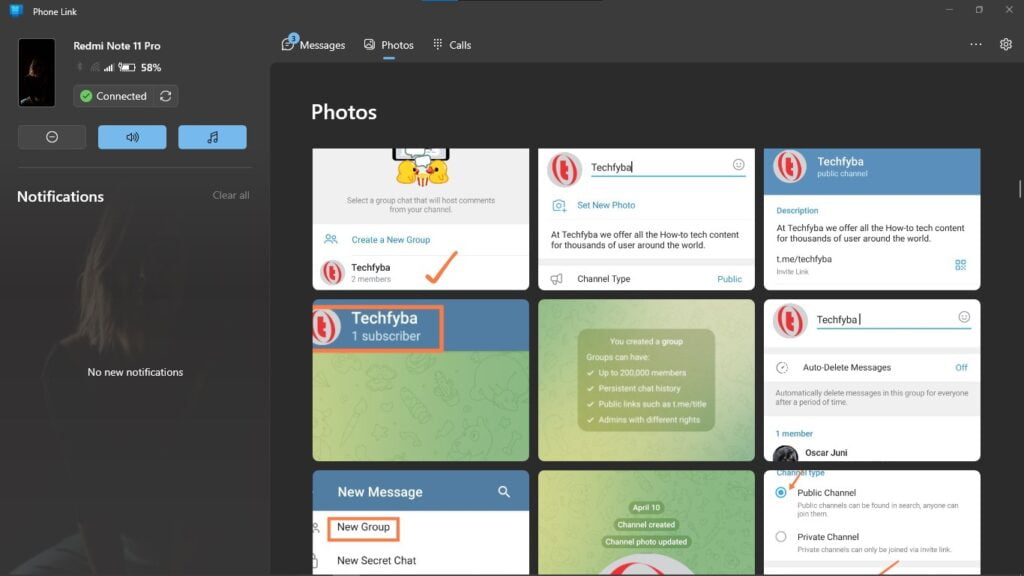
Once, you have allowed these permissions. Then click on click on Done. And start enjoying all the benefits.
Conclusion
In conclusion, linking your Android phone to your Windows PC can be a real game-changer, helping you to be more productive and stay connected. With the Phone Link app, you can seamlessly access images, manage phone notifications, make and receive calls, and send and receive SMS messages from your PC. Don’t worry if you’re not a tech-savvy person, because we’ve got you covered! We’ve provided you with clear and easy-to-follow steps to link your Android phone to your Windows PC. So, simply download the “link to Windows” app from the Google Play Store, follow the steps we’ve outlined, and start enjoying all the benefits of connecting your devices.
